
This really is a concrete interlocking type of flooring system that’s widely used on garages and basements. It has a solid foundation with a layer of slabs or stones on it. There are some advantages of using this type of flooring system over the conventional one. One benefit is that it isn’t very expensive and is simple to install. Another advantage is that it provides added structural strength into the ground.
Underpinning Slab On Grade
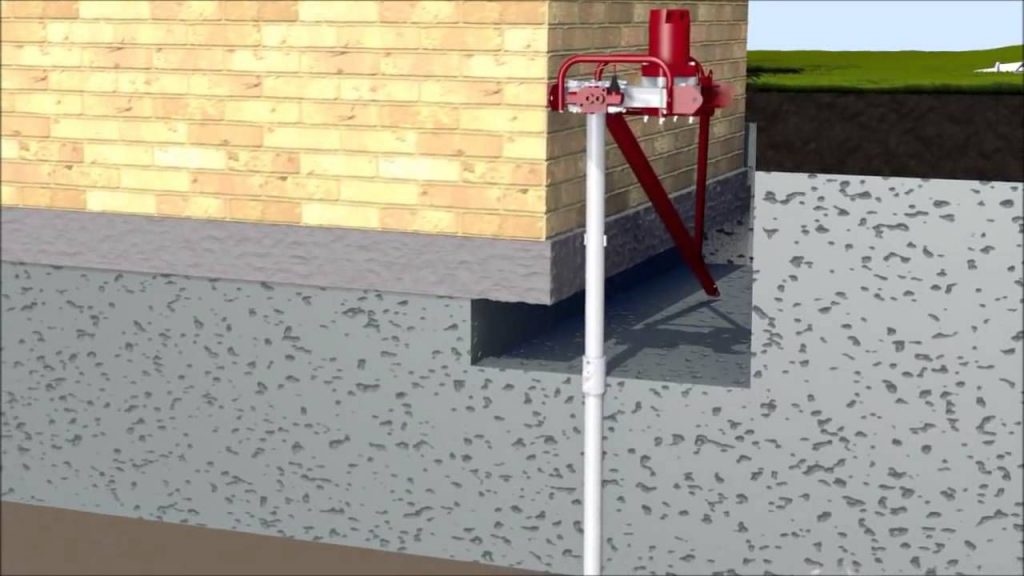
How does an Underpinning slab work? The interlocking design of the underpinning floor system makes it possible for distinct flooring thicknesses for use. If you choose a thicker slab, your garage flooring will be stronger. If you opt for a thinner slab, then the garage flooring will be easier to clean.
Underpinning Slab On Grade
If you choose to utilize an underpinning slab, you have to ensure that you have enough space for laying the slabs down. You have to ready the place for the setup by covering it with plywood. As soon as you’ve set up the plywood, you need to install the underlayment. The depth of this underlayment is dependent on the thickness of the slab. For thicker slabs, the thickness of this underlayment has to be thinner.
Underpinning Slab On Grade
When the underlayment is installed, the subfloor has to be laid. The subfloor ought to be laid in such a way so that all layers of this underpinning slab can be clearly seen. You can use different colors of epoxy to paint it. You should avoid using too many colors since it might impact the expression of the floor.
Underpinning Slab On Grade
When the underlayment and subfloor are set up, you can start placing the first couple of layers of concrete. For the first few layers, you can mix water-based or oil-based concrete putty. Remember to not apply a lot of concrete putty on the underpinning slab. The main reason is that it may spread underneath the slabs and lead them to sink into the ground. This will not only harm your slab, but also decrease its effectiveness.
After the first couple of layers are put down, you want to wet the slab. You can achieve it by using a water hose or a wet/dry shop vac. This wetting procedure can help to level the subfloor. Next, you need to smooth the slab with a electrical slab mop. It’s very important to smooth it evenly. Only when the underpinning slab is leveled and well-maintained are you going to be in a position to lay the next slab properly.
When the slab is ready, you need to smooth it with a wet/dry shop vac. After this is done, you can start laying the top layer of concrete. This is the foundation on which you want your flooring to rest. You want to make sure the top layer doesn’t sag or cave because this may cause significant damage to your floor. One other important thing to keep in mind is that you ought to always work from the outside edges of your slab to the center.
When you have finished with the first 3 layers, you can begin building the next one. You need to use exactly the same sort of concrete Underpinning melbourne that you used from the previous underpinning slab. Just make sure that you use water-based putty on the ground layers to prevent water seeping in the following layer. Once you’re finished, you can sand the slab. This may further help in leveling your slab.
Now you can combine your paint and grout. Whenever you’re performing your layering, make sure you don’t use too much brush strokes. If you do so, your floors will not look smooth and level. Also be careful once you’re pouring your own concrete. The mixing and pouring process is very important. This is how you will know how much to pour and how fast it will be set.
In order for your floors to continue long, you need to properly maintain it. You can use steel wool and pad that will help you level the floor. You have to also check frequently for any cracks. If you become aware of any crack, then you should instantly get some cement and then patch it.
By following these simple steps, you will be able to install the perfect flooring for your home. You need to be certain that you adhere to the instructions carefully and you are careful during installation and layering. This can allow you to achieve professional results and you’ll also save money.